
THIS POST MAY CONTAIN AFFILIATE LINKS, WHICH MEANS THAT I MAY RECEIVE COMMISSION IF YOU PURCHASE THROUGH THOSE LINKS. I WILL NEVER RECOMMEND PRODUCTS THAT I WOULD NOT TRY MYSELF. I RECOMMEND THESE COMPANIES BECAUSE THEY ARE COMPANIES I TRUST.
Are you looking for ways on how to start a successful blog? Well, you are in the right place! I just realized that I have been blogging for 8 years! Woah! Starting this blog has been an amazing journey for me. I never knew that my passion for hair and beauty could help someone else.
This blog has allowed me to be creative, connect with other women all over the world and turn my passion into something amazing. You can check out why I started blogging here. The question I get asked the most is how to start a blog. Most people don’t know where to begin, or they think that they are not capable of starting a blog.
What I want to tell you is that you can start a successful blog too! Starting a blog is super easy and can be done by anyone. I started this blog with no skills what so ever with blogging. It was all a learning process. If you have ever wanted to start a blog of your won now is the time! Do it, and you can do anything girl!
Whatever you are passionate about whether it’s food, hair, beauty, parenting or finance whatever your story is you can create a space and talk about what you want. I never knew that starting this blog could take me so far, and it can do the same for you! Let’s get started!!
How To Start A Successful Blog
Equipment
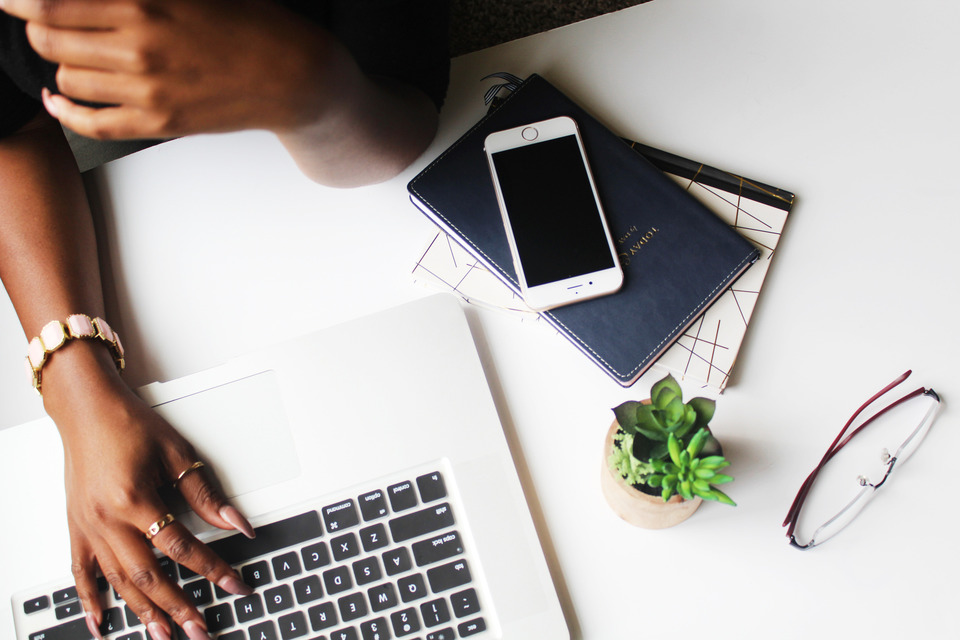
Most people think that you need all the fancy equipment before you can start a blog. LIES! You don’t need all that fancy equipment to start. If you have a computer, a basic camera or camera phone, you are ready to go. Most bloggers use their iPhone to take pictures. I bet you didn’t know that!
Choose a Niche (Topic)
If your blog is focused on a specific category, it makes it easier. But you don’t have to have one set category. I blog about hair, beauty, lifestyle so whatever you choose just make sure it can all flow together. Here are a few examples:
- Beauty- Makeup
- Lifestyle, Travel
- Fashion, Styling
- Food, Desserts
- Mommy Tips, Parenting
- DIY
- How to blog (Social Media, Entrepreneur)
Those are just a few examples, but the choices are endless!

Choose a Name
YAY! Now it’s the fun part! You get to pick the name of your blog. Make sure that you like it so that you won’t have to change it later. Make sure you choose a name that will you with your overall brand. Make sure that you have several options because there are a lot of domains out there and many are taken already but don’t let that discourage you!
Choose a Blogging Platform
You have your idea, your niche and now, you will want to choose a blog platform. You might be thinking, and wondering what is the best blogging platform to get started on your blog?
There are a ton of great free blogging platforms that allow you to create your new blog, update your content and share. But, many of these blog platforms are not worth it. Especially if you are serious and want to grow your blog in the future. If you just want to start a blog with no intention of starting a business or making money, then you can fully utilize the free blog sites. It is important that you also understand that there’s a difference between a blog hosted at WordPress.com and WordPress.org. My blog is hosted on WordPress.org which is a paid platform.
WordPress.com is free, and it has limitations and some downsides. It can prevent you to run any ad campaigns, certain widgets, and many different plugins. With a self-hosted WordPress.org platform, you can utilize a ton of tools, widgets, plugins, themes, add-ons, and multiple applications to create your site how you want it.
If you plan on being serious about blogging I highly recommend using WordPress as the efficient blogging platform. If you are not a very techy person, there are a ton of videos to help you get started and get familiar with the platform.
Select a Domain Name
So you are probably thinking to yourself, what is a domain?
A Domain name refers to the identify a website or a blog. Every blog needs to have a domain.
Choosing a domain name for your can be fun. You will want to choose domain names that are with .com and .org. Many use their names for their blog name just to make it easier (You can also get a free domain with Bluehost, which I will talk about next)
Choose a Hosting Service
This is the first thing you need to do after choosing your name. There are many web hosting services out there, but I use Bluehost. It’s super easy and affordable.Your web hosting service is the one who provides you an online space where all the files are kept for your blog. It also enables to enjoy all the internet services that will be required along with your blog.You can also get your domain for free with Bluehost.
Bluehost is one of the top web hosting companies trusted by tons of bloggers. I highly recommend it. It has successfully hosted millions of websites, and it is a top-rated web host. Guess what, it works so well with WordPress too! It takes minutes to install WordPress with Bluehost.

Step 1. Sign Up
Sign up for Bluehost here. The link will redirect you to the main page where you can click the big green button that says ‘getting started now.’

Step 2. Choose a Plan
You can select from the following plan types:
- Basic
- Plus
- Prime
Step 3. Register Your Domain
You can register a new domain name for free with Bluehost. Or you can select ‘I have a domain name’, and get one from Bluehost.

Step 4. Add your information.
Here you can add all the required information needed for purchasing the hosting. Make sure to check all your information before moving on to the next step.

Step 5.
Here you can see all the available services. For 36 months (3-years) at$3.95/month is what I have. Please note that you are paying for a future period and they no longer offer month to month servicing. Make sure whichever service you go with is a good hosting company that it builds trust by offering a 30-day money back guarantee (this is very important). You can also choose a 12-month plan. You can always upgrade if you need more.

Step 6. Add your billing info

This is self-explanatory. Put your billing information in and click the checkbox to agree with all the services.
Step 7.
Create a password.

Step 8
Log in and Download WordPress. It is very simple to download and install WordPress.
You will then see a new window to ‘Install.’ You will also see ‘Show advanced options.’ You will then enter your name your site and also you will need to provide the WordPress username and password. After you have completed this step click install now.
Step 9
Once you have entered your information. Please check your registered email and you’ll receive an email from Mojo marketplace.
Make sure to save the email and write down the important information such as your website URL, login details, and password so that you have it easily accessible.
Step 10. Log into Bluehost!
And that’s it! It’s super easy to set up your blog. I will go into more detail on WordPress in another blog post.
NEXT PURCHASE A WEBSITE TEMPLATE/DESIGN
This is the super fun part! Choosing a blog template! I actually had someone install my blog template. I purchased it from creativemarket.com
WordPress has some free templates, but I wanted a fancier one. So you can look through what WordPress offers and then decide ;).
Here are some of my must few Plugins I suggest.
Yoast SEO: This plugin allows you to optimize SEO for each of your blog posts, making them more searchable. This is a MUST have!
Jetpack: This is good to help you check your blog stats. Google Analytics is the best option for blog stats, but Jetpack gives you a quick look at WordPress.
Askimet: This plugin keeps your blog safe from spam, and trust me you need this! It protects your site, so you don’t have to worry about spammers who comment.
Instagram Feed: This is a must-have. With this plugin, you can display your Instagram feed right on your blog.
Here are my favorite widgets:
Image widget: Having a headshot on your front page very important to help your readers connect with you.
Social media icons: This is a must! You must have your social media icons available and visible on your blog. You want people to follow you so make sure they are visible.
Email sign up Make sure you have a box where people can subscribe to your blog by email. This way they’ll get notified whenever a post goes live.
If you found this blog post helpful! Please make sure to share it on Pinterest and with your friends so others can start their blog in a few easy steps!


Elizabeth
January 21, 2018 at 8:27 pmHey Michelle, thank you so very much. I have been waiting for this since we last dm each other. I have just been reading my blogging for dummies book and of course they talked about wordpress. Thank you for the information I will definitely have something to refer too when I set it up.
April Edwards-McGaskey
January 25, 2018 at 3:02 pmHi Michelle!
Thank you so much for this blog post! I really enjoyed the live IG sessions you have also giving tips on how to start blogs or just anything we are passionate about. It is quite scary to step outside the box. Like you said, there is never a perfect time when everything we want in place will be there so we just have to start. Keep inspiring!
April
applemacg